
Setting Up Jekyll
Setting Up Jekyll and Creating Your Site
Before diving in, be sure to check out the official Jekyll guide: Jekyll Documentation
~$ gem install jekyll bundler
~$ jekyll new myblog
~$ cd myblog
~/myblog $ bundle exec jekyll serve
# => Now browse to http://localhost:4000
For Linux users, I realized a little later that using gem install –user-install allows you to install gems without root privileges, avoiding unnecessary complications.
Install minimal mistakes theme and customize
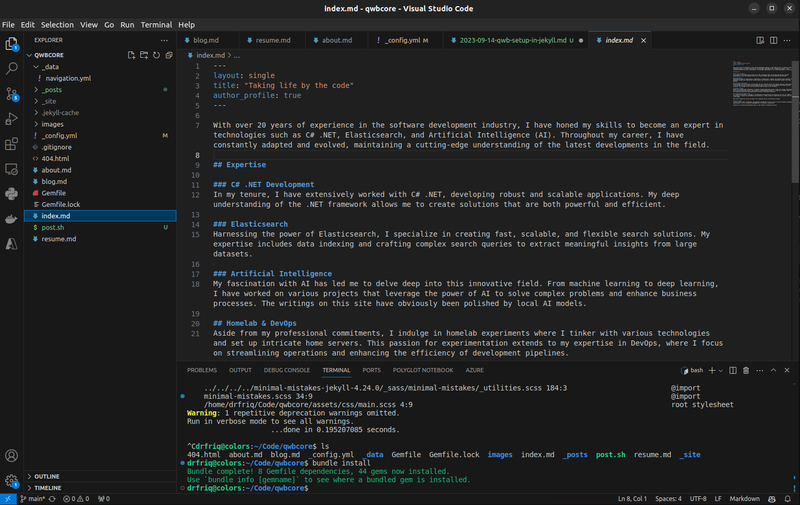
When it comes to adding plugins or themes, there are two key files to focus on: Gemfile and _config.yml. The Gemfile is where you add plugins, and _config.yml is where you configure them. Here’s how I set up the Minimal Mistakes theme:
Adding to the Gemfile
# theme of choice
gem "minimal-mistakes-jekyll"

group :jekyll_plugins do
  gem "jekyll-feed", "~> 0.12"
  gem "jekyll_picture_tag"
  gem "jekyll-seo-tag"
  gem "jekyll-sitemap"
  gem 'rouge'
end
~$ bundle install
Updating _config.yml
title: Qwb for life
url: "https://qwb.net"
description: Software developer with a 20-year track record in C# .NET and Elasticsearch. Delving into AI research while fueling advancements through homelab experiments.

author:
  name        : "Joshua Pfaendler"
  bio         : "Software developer with a 20-year track record in C# .NET and Elasticsearch. Delving into AI research while fueling advancements through homelab experiments."
  avatar      : "/images/joshua.jpg"
  location    : "Portland, OR"
  links:
    - label: "Email"
      icon: "fas fa-fw fa-envelope-square"
      url: "mailto:contact@qwb.net"
    - label: "Website"
      icon: "fas fa-fw fa-link"
      url: "https://qwb.net"
    - label: "LinkedIn"
      icon: "fab fa-fw fa-linkedin"
      url: "https://www.linkedin.com/in/joshua-pfaendler/"
    - label: "GitHub"
      icon: "fab fa-fw fa-github-square"
      url: "https://github.com/drfriq"

defaults:
  # _pages
  - scope:
      path: ""
      type: pages
    values:
      layout: single
      author_profile: true
  # _posts
  - scope:
      path: ""
      type: posts
    values:
      layout: single
      author_profile: true
      toc: true
      toc_sticky: true
      show_date: true
      comments: false
      share: true
      related: true

# Build settings
theme: minimal-mistakes-jekyll
minimal_mistakes_skin: "dark"
highlighter: rouge
locale: "en-US"
compress_html:
  clippings: all

plugins:
  - jekyll-feed
  - jekyll_picture_tag
  - jekyll-seo-tag
  - jekyll-sitemap
Creating _data/navigation.yml
main:
  - title: "Home"
    url: /
  - title: "Rough Notes"
    url: /blog/
  - title: "Resume"
    url: /resume/
  - title: "About"
    url: /about/
Setting Up Index, About, Blog, and Resume Pages
---
layout: single
title: Just Your Typical Oregonian Tech Nerd Dad
permalink: /about/
---

# About Me
... blah blah blah ...How to Add a Blog Post Quickly
As a Linux user, I’ve created a bash script to streamline the process of adding new posts:
#!/bin/bash

# Check if the _posts directory exists, if not, create it
if [ ! -d "_posts" ]; then
  mkdir _posts
fi

# Ask for the post title
echo "Enter the title of the post:"
read post_title

# Replace spaces with hyphens and convert to lowercase for the title
formatted_title=$(echo "$post_title" | tr ' ' '-' | tr '[:upper:]' '[:lower:]')

# Get the current date
current_date=$(date '+%Y-%m-%d')

# Create the filename in the _posts directory
filename="_posts/${current_date}-${formatted_title}.md"

# Create the file with the current date and categories in the front matter
echo "---" > $filename
echo "layout: single" >> $filename
echo "title: \"$post_title\"" >> $filename
echo "date: $(date '+%Y-%m-%d %H:%M:%S %z')" >> $filename
echo "categories: " >> $filename
echo "---" >> $filename

# Notify the user
echo "File '$filename' created."
This script generates a markdown file for you to edit and add your content to. While there are plugins like compose with more features, I learned that after having ChatGPT create this script for me so whatever.
Deploying to a Virtual Machine
To deploy your Jekyll site, run the following command:
~$ bundle exec jekyll build
This command creates a _site directory containing plain HTML files, ready to be uploaded to any web server.
For my setup, I use nginx within a VM on Proxmox and version control the Jekyll project using GitHub. To facilitate quick updates to the site, I created a build script on my web VM:
#!/bin/bash

# Define the path to your Jekyll project directory
JEKYLL_PROJECT_DIR="/home/drfriq/qwbcore"
# Define the path to your desired output folder
OUTPUT_DIR="/var/www/qwb.net"

export GEM_HOME="$HOME/.gem"
export GEM_PATH="$GEM_HOME"
export JEKYLL_ENV=production

# Add gem executables directory to the PATH
export PATH="$PATH:/home/drfriq/.local/share/gem/ruby/3.0.0/bin"

# Navigate to the Jekyll project directory
cd $JEKYLL_PROJECT_DIR

# Pull the latest changes from the git repository
git pull

# Install any missing gems
bundle install

# Build the Jekyll site
bundle exec jekyll build -s $JEKYLL_PROJECT_DIR -d $OUTPUT_DIR

# Print a message indicating that the build process has finished
echo "Jekyll site built successfully and the files are located at: $OUTPUT_DIR"
Now, anytime you push updates to your GitHub repository, you can quickly deploy the changes to your web server using this script.
I hope this guide helps you set up your Jekyll site swiftly and without hassle. If you have any questions or suggestions, please don’t hesitate to reach out through the contacts provided on the site.